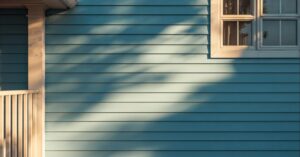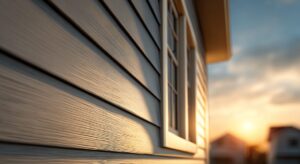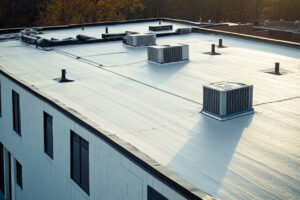
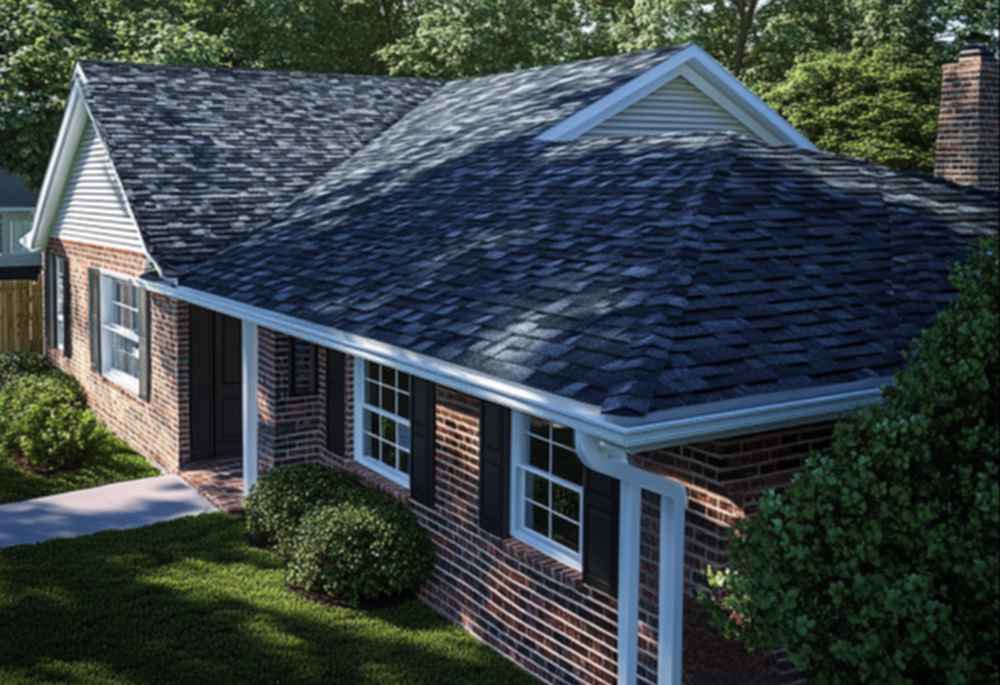
Living in Chesapeake, VA, means dealing with a mix of sunny summers, salty breezes, and humid conditions. While it’s great for beach days and backyard barbecues, it’s not so great for your asphalt shingles. That coastal air, combined with frequent rain and occasional storms, can lead to algae, moss, and unsightly black streaks on your roof.
That’s where Best Choice Roofing comes in! We install and maintain three-tab, architectural, and premium asphalt shingles, handling everything from minor repairs to full roof replacements. But knowing how to care for your roof in between professional check-ups is key to keeping it looking great and functioning at its best.
Why Cleaning Your Asphalt Shingles Matters
Let’s be honest—nobody likes looking at a grimy, streaky roof. But it’s not just about aesthetics! Regular roof cleaning helps:
- Extend the life of your shingles
- Prevent moss and algae buildup, which can damage roofing material
- Improve energy efficiency by reducing heat-absorbing grime
- Keep your home looking fresh and well-maintained
Step-By-Step Guide to Cleaning Your Asphalt Shingles
Cleaning your roof isn’t rocket science, but it does require a bit of care. Follow these steps, and you’ll have a squeaky-clean roof in no time!
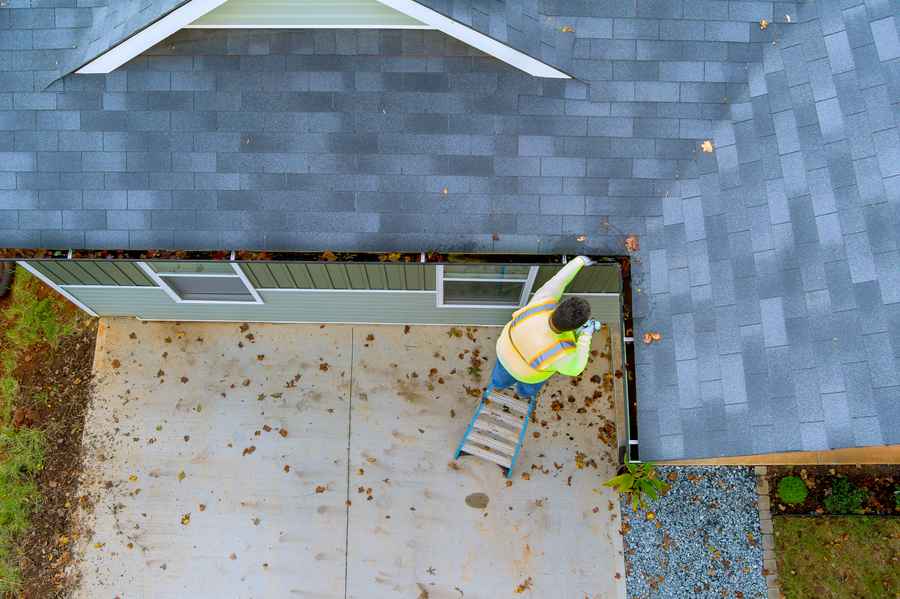
Step 1: Safety First!
Before you start, make sure you have:
- A sturdy ladder
- Slip-resistant shoes
- Safety goggles and gloves
- If your roof is steep, use a harness
Never clean your roof alone—always have someone spotting you!
Step 2: Gather Your Cleaning Supplies
You’ll need:
- A garden hose with a spray nozzle
- A non-corrosive, bleach-based roof cleaner (or a mix of 50% water and 50% bleach)
- A soft-bristle brush (no pressure washers—those can damage shingles!)
- A bucket
Step 3: Pre-Rinse the Roof
You can rinse off any loose dirt and debris with a hose. Avoid using high-pressure settings, as too much force can loosen or damage shingles.
Step 4: Apply the Cleaning Solution
Pour your roof cleaner into a sprayer or apply it with a soft-bristle brush. Work in small sections to ensure even coverage. Let the solution sit for 15–20 minutes to break down the grime.
Step 5: Gently Scrub (If Needed)
If you see stubborn moss or algae spots, scrub the area with a soft brush. Don’t overdo it—you want to clean the shingles, not wear them down!
Step 6: Rinse All The Way
Once the cleaning solution has sat for a bit, you can rinse the roof thoroughly with your garden hose. Make sure no residue is left behind, as leftover chemicals can degrade the shingles over time.
Step 7: Prevent Future Growth
To keep algae and moss from coming back, maybe you can install zinc or copper strips along your roof ridge. These metals help inhibit future growth and keep your roof looking fresh longer!
Call in the Pros at Best Choice Roofing!
While DIY maintenance is great, sometimes you need a professional touch. At Best Choice Roofing, we specialize in keeping your three-tab, architectural, and premium asphalt shingles in top condition. Whether you need roof repairs, a deep clean, or a full roof replacement, we’ve got you covered.
Ready to elevate your roof? Call Best Choice Roofing today for a free inspection, and let’s make your roof shine like new!