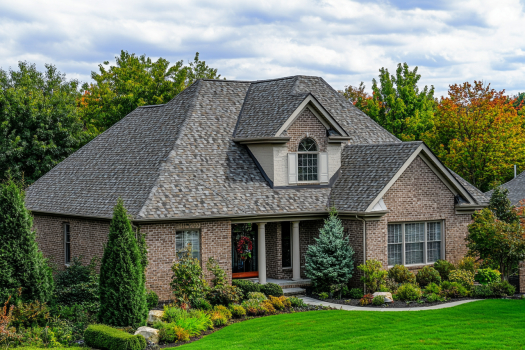
At Best Choice Roofing, we know that your home deserves the best protection, and that starts with a solid, high-quality roof. That’s why we offer top-notch asphalt shingle roofing solutions, including Three-Tab, Premium, and Architectural shingles—each tailor-fit to meet the unique needs of your Asheville, NC home. Whether you’re looking for a sleek, budget-friendly option or a durable, high-end upgrade, we’ve got you covered (literally!). Now, let’s take a step-by-step journey through the asphalt shingle roof installation process.
In this article, we will dive into:
- A step-by-step guide for an asphalt shingle roof installation in Asheville, NC
- Next steps with Best Choice Roofing
Step-by-Step Guide to Installing an Asphalt Shingle Roof in Asheville, NC
Step 1: The Roof Inspection & Prep Work
Before we even think about hammering in that first shingle, our roofing experts conduct a thorough roof inspection of your existing roof. We check for damage, weak spots, and areas that might need extra reinforcement. If necessary, we’ll remove the old roofing material, ensuring a fresh and sturdy foundation for your new roof.
Step 2: Laying Down the Underlayment
Think of the underlayment as your roof’s secret weapon—it’s the protective barrier between your home and the elements. We roll out a high-quality underlayment that prevents moisture infiltration, providing an extra layer of security against Asheville’s sometimes unpredictable weather.
Step 3: Installing the Drip Edge & Flashing
Water is sneaky, but we’re sneakier! We will install the drip edge along the roof’s perimeter to direct water away from the fascia and prevent leaks. Flashing is added around chimneys, vents, and valleys to reinforce the most vulnerable areas of your roof, keeping your home watertight.
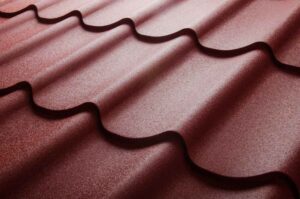
Step 4: The Shingle Show Begins!
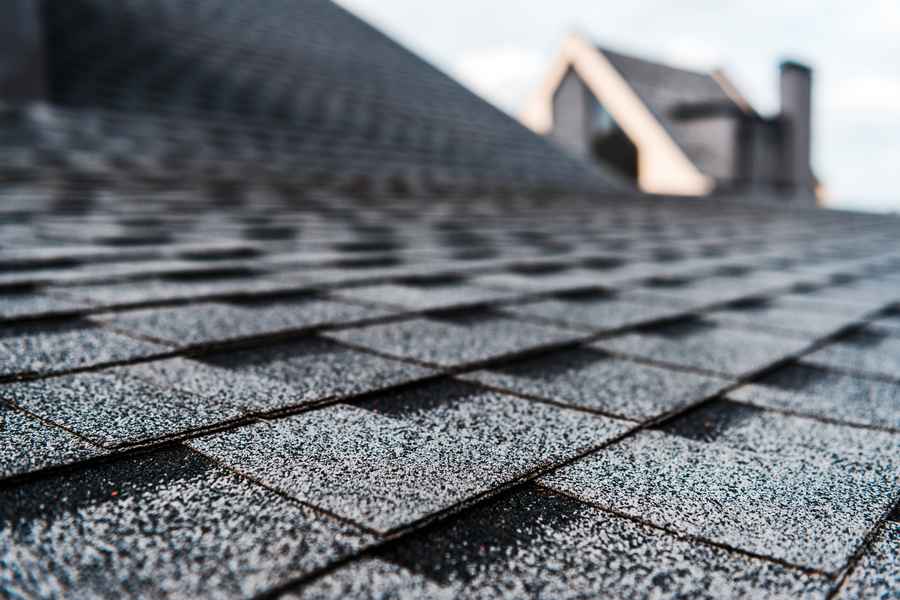
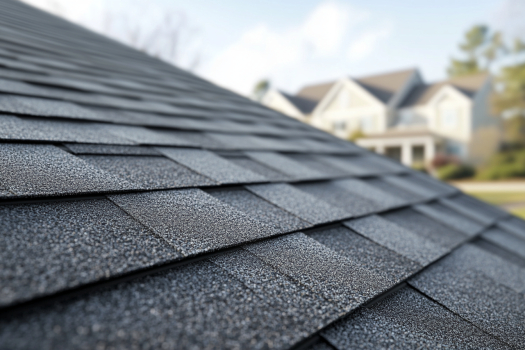
Here’s where the magic happens! We start laying down the asphalt shingles in a precise, overlapping pattern to create a watertight seal. Whether you choose Three-Tab, Premium, or Architectural shingles, we install them with expert precision, ensuring maximum durability and aesthetic appeal.
Step 5: Ridge Cap Installation
The finishing touch on your new roof is the ridge cap. This specially designed shingle runs along the peak of your roof, giving it a polished look while providing extra protection against wind and rain. Think of it as the crown of your home’s brand-new headpiece!
Step 6: Cleanup & the Final Inspection
At Best Choice Roofing, we don’t believe in leaving behind a mess. Our team conducts a full cleanup, removing debris and stray nails so your yard looks as good as your new roof. Finally, we perform a meticulous final inspection to ensure everything is installed to perfection, giving you total peace of mind.
Your Next Step: Schedule Your Roofing Consultation Today!
Now that you know how the asphalt shingle roof installation process works, are you ready to give your Asheville home the protection it deserves? Whether you’re upgrading an aging roof or installing one on a brand-new home, Best Choice Roofing is here to deliver top-tier craftsmanship and quality materials. Call us today for a free consultation, and let’s build something amazing together!